


Wednesday, December 8, 2010

- Stir together cinnamon and applesauce with a spoon until the dough becomes stiff, then use your hands to create a ball of dough.
- Place the ball of dough on a sheet of waxed paper, flatten slightly with your fingers.
- Place a second sheet of waxed paper over the top of the dough and roll out dough to about 1/8 inch thick.
- Use cookie cutters or your own template shapes.
- Air dry creations on a waxed paper-covered cookie sheet or a cooling rack for at least 24 hours until they are completely hard.

Monday, December 6, 2010
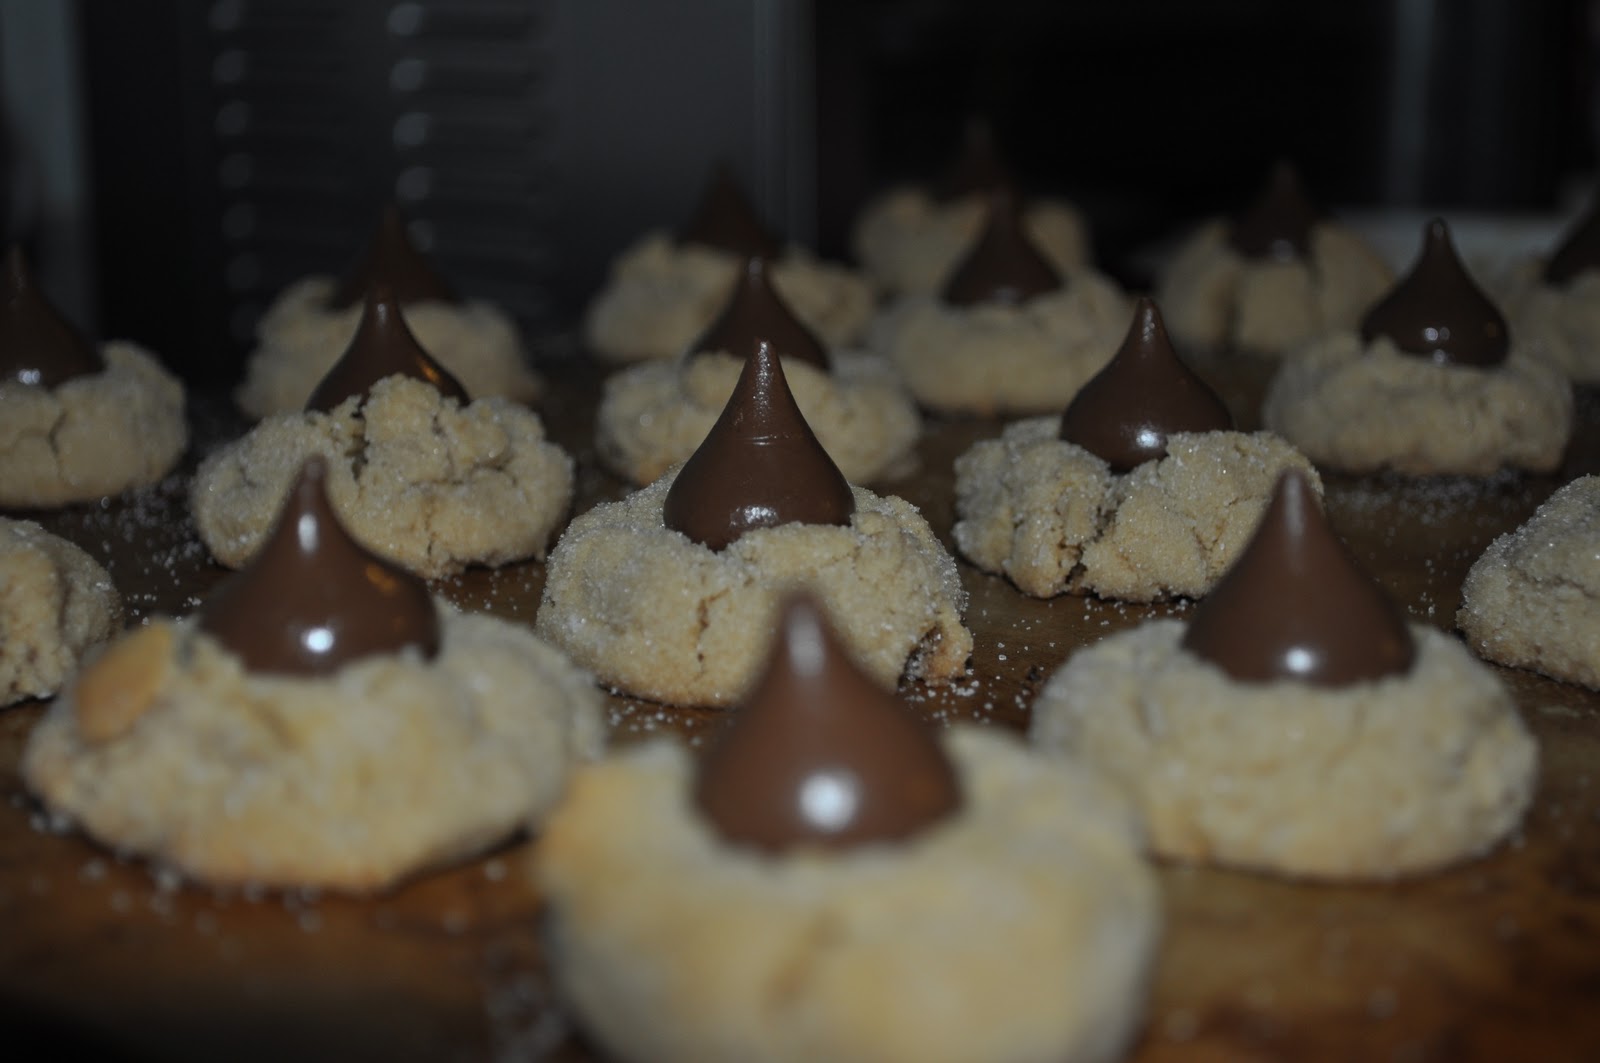
We're busy here on the SouthShore as we begin to wrap up the Festival of Lights and roll into the Christmas groove! *Gasp* I can't keep up with the baking, and the family is trailing fast behind me eating up all the goodies before I can pipe the icing!! I baked Gingerbread Cowpoke Boots a week ago and they didn't last. Tonight I pulled out the Hershey's Kisses. I baked Peanut Butter Blossoms and... well I tested out a new cookie dough I concocted in the kitchen. I was hoping for a different taste but hey, great recipes are created by trial and error, right? What I was trying to do was recreate a clone of a recipe that my big sis had made back when I was a kid. I think I need to go at it again but this time make more of a "shortbread" type dough. Anyways, here is the recipe... The cookie reminds me of a "snowball" cookie. It's flaky and just a little dry, *grr* .....trial and error.

- 1 1/2 cups butter, softened
- 3/4 cup confectioners sugar
- 1 Tbsp pure vanilla extract
- 1/2 tsp salt
- 3 cups all-purpose flour
- 10-ounces mini chocolate chips
- 48 Hershey's Kisses
- Powdered Sugar
- Preheat oven to 375°F.
- Remove wrappers from Hershey's Kisses.
- Cream the butter, sugar, vanilla and salt in a medium mixing bowl.
- Mix in the flour 1/2 cup at a time.
- Stir in the mini chocolate chips.
- Shape dough into 1-inch balls and place on ungreased baking sheets.
- Bake for 10 - 12 minutes.
- Remove from oven and immediately press a Hershey's Kiss into center of each cookie (the cookie will crack around the edges).
- Let cool on baking sheet for about 10 minutes; remove to wire rack to cool completely.
- Sprinkle lightly with confectioners sugar for a snowy garnish!
- 48 HERSHEY'S KISSES Brand Milk Chocolates
- 1/2 cup shortening
- 3/4 cup REESE'S Creamy Peanut Butter
- 1/3 cup granulated sugar
- 1/3 cup packed light brown sugar
- 1 egg
- 2 tablespoons milk
- 1 teaspoon vanilla extract
- 1-1/2 cups all-purpose flour
- 1 teaspoon baking soda
- 1/2 teaspoon salt
- Granulated sugar
- Heat oven to 375°F. Remove wrappers from chocolates.
- Beat shortening and peanut butter in large bowl until well blended. Add 1/3 cup granulated sugar and brown sugar; beat until fluffy. Add egg, milk and vanilla; beat well. Stir together flour, baking soda and salt; gradually beat into peanut butter mixture.
- Shape dough into 1-inch balls. Roll in granulated sugar; place on ungreased cookie sheet.
- Bake 8 to 10 minutes or until lightly browned. Immediately press a chocolate into center of each cookie; cookie will crack around edges. Remove from cookie sheet to wire rack. Cool completely. About 4 dozen cookies.
Happy Baking!!

Thursday, November 25, 2010

Good Morning,
Note: Garnish the top of your pie with sliced strawberries! Yum!
Graham Cracker Pie Crust
- 1 1/2 cups crushed graham crackers
- 1/4 cup sugar
- 1/3 cup butter, melted
Directions
- In a small bowl, combine the crumbs and sugar; add melted butter and blend well with your hands
- . Press onto the bottom and up the sides of an ungreased 9-inch pie plate.
- Refrigerate for 30 minutes before filling, or bake at 375 degrees F for 8-10 minutes or until crust is lightly browned.
- Cool on a wire rack before filling.
Saturday, November 13, 2010
Tuesday, November 9, 2010

- 4-6 Pork Loin Chops
- 2-3 Tbsp Margarine
- Seasoned Salt
- 1 can Chicken Broth
- Preheat family skillet over Med-High heat.
- Throw in your margarine to melt. (Don't let it burn)
- As margarine is beginning to melt put your loin chops in the skillet to brown.
- Brown all chops on both sides until golden. (It's ok to stack your chops on each other so long as both sides of all chops are given the chance to brown.
- Sprinkle each loin chop with Seasoned Salt on both sides.
- Add Chicken Broth.
- Cover skillet with lid and simmer for about 20 minutes, rotating at 10 minutes.
- Before serving, check to make sure the chops reach the temperature just above 160°F.
Side Dishes that compliment Pork loin chops: Steamed rice, Mac n' Cheese, Green Bean Casserole, Steamed Zucchini, Yellow Squash
Saturday, September 25, 2010
I drove up to the Penn Square Mall this afternoon to do some shopping and stopped by my favorite store, Williams-Sonoma. Today they were serving samples of their “Pumpkin Dessert Squares” made with their featured product, Pecan Pumpkin Butter! Can we say “Yummm”? This delectable piece of pumpkin goodness melted in my mouth and I was craving for more! I couldn’t leave without the recipe so here it is. I promise you won’t be disappointed!!
Pumpkin Dessert Squares
Sunday, August 29, 2010
One autumn day, KTBug and I took a trip to the Boise Towne Square Mall. She was two years old. While strolling through the mall my little KTBug spied a display case full of brightly decorated cookies! My little girl was filled with so much excitement as she shrieked and clapped her little hands, running towards the Great American Cookie consessionaire! I couldn't resist, I order KT her very own cookie cake.
KT chose the Elmo cake design. Tickle Me Elmo was popular at the time and she was determined to have an Elmo Cookie Cake!
I love reminiscing of the fun times spent with my children! My KTBug was the happiest girl alive when she proudly toted the carefully packed parcel through the mall corridors! She was red and blue from head to toe that evening!
INGREDIENTS:
1 Betty Crocker Chocolate Chip Cookie Mix (17.5oz package)
1 Stick Butter (8 Tbsp)
1 Egg
13" Aluminum Disposable Pizza Pan
Cake Mate Icing (4.5 oz tubes) (Your choice colors)
Cake Mate Plastic Decorating Tips
Cake Mate Decorating Decors (your choice of sprinkles)
Directions:
1. Preheat oven to 375°F.
2. Prepare cookie dough as directed on back of cookie mix package.
3. Spread cookie dough onto pizza pan, leaving 1/2-inch space between dough and edge
of pan (Dough will spread to edge of pan when baking).
4. Bake for 11 minutes, or until edge of cookie is golden brown.
5. Cool completely in pan.
6. Decorate with your choice Cake Mate Icings & Decors. Enjoy!
Chef's Rant:
These Cookie Cakes are so easy to make! The PTSA hosted a luncheon at school on Friday. I signed up to bring Brownies/or Cookies. My days are so busy with running the kids around to their Sports & Clubs, I didn't think I would have time to bake anything. While at the grocery I found Cookie Cakes on display. I nearly purchased two, but stopped myself short of buying them when I noticed it would cost me $12 for each cookie cake. They were small Cookie Cakes. (Sam's Club sells huge ones for only $14.99! Excellent price, but I had no time to run to Norman that day).
That's when I decided to attempt to make the Cookie Cakes on my own. The Betty Crocker Chocolate Chip Cookie Mixes were on sale for 2/$3.00. I figured it was worth a shot, and if I failed, I had a box of brownie mix to fall back on. Ha!
To my surprise, the Cookie Cakes turned out perfect and they were a hit at the Luncheon!


Monday, August 9, 2010
The Swedish Chef' and Uncle: Int'l Cooking Festival (Video)
2 comments Posted by SouthShore Chick at 11:23 AM
Friday, July 30, 2010


Sunday, July 25, 2010

Saturday, July 24, 2010
Tonight I'm attempting to prep a new recipe for Chocolate Frozen Yogurt. I found it at AllRecipes.Com. We shall see if the family approves. Unfortunately I prepped it a little late in the evening and the mixture is still cooling in the fridge.
While I wait, I will keep searching for the Freezer Bowl to my Cuisinart Soft Serve Ice-Cream Maker. I've misplaced it! If I don't find it by morning I'll just settle for using my other Cuisinart Ice Cream Maker.
Pantry/Grocery List: Granulated sugar, cornstarch, 1 (12 fluid ounce) can fat-free evaporated milk, semisweet chocolate chips, plain lowfat yogurt, vanilla extract
Please follow the hyper link above to All Recipes.Com for the recipe and then come back to let me know how your recipe turned out!!!!
Shabbat Shalom!
Thursday, July 15, 2010
It's late and we're all wide awake. Kids are in the living room playing Monopoly. Laura & and I are in the kitchen baking. We just spent the entire day shopping. While stopping into Williams-Sonoma I spotted a table full of bakeware marked down to unbelieveably low prices. I poked around and then spotted the one item I've been dying to own, a ceramic Monkey Bread vessel! How could I pass up the chance to purchase it for half it's original price? We didn't care that it was 9 o'clock at night. We were making Monkey Bread!!!
Monkey Bread

2 Tbs. Unsalted Butter, Softened
For the Dough:
¾ Cup (180ml) Warm Milk (About 110°F/43°C)
½ Cup (125ml) Warm Water (About 110°F/43°C)
2 Tbs. Unsalted Butter, Melted
¼ Cup (60g) Granulated Sugar
1 Egg, Lightly Beaten
1 Package Rapid-Rise Yeast
3 ¼ Cups (515g) All-Purpose Flour, Plus More for Dusting
2 tsp. Salt
For the Sugar Coating:
1 Cup (220g) Firmly Packed Light Brown Sugar
2 tsp. Ground Cinnamon
8 Tbs. (1 stick/125g) Unsalted Butter, Melted
For the Glaze:
4 Tbs. (1/2 stick/60g) Unsalted Butter
½ Cup (105g) Firmly Packed Light Brown Sugar
¼ Cup (85ml) Maple Syrup
1 tsp. Ground Cinnamon
1 Tbs. Water
Directions:
Have all the ingredients at room temperature. Butter the monkey bread baking mold with the softened butter. (Can substitute with Angel Food Cake or Bundt Cake Pan)
To make the dough, in a bowl, whisk together the milk, water, melted butter, granulated sugar, egg and yeast.
In the bowl of an electric mixer fitted with the dough hook, combine the flour and salt and salt on low speed just until combined. Slowly add the milk mixture and beat until the dough comes together, 1 to 2 minutes. Increase the speed to medium and beat until, the dough is shiny and smooth, 5 to 6 minutes.
Turn the dough out onto a lightly floured surface and knead until smooth, about 1 minute. Form the dough into a ball. Coat the inside of a large bowl with nonstick cooking spray, place the dough in the bowl and coat the surface of the dough with cooking spray. Cover the bowl with plastic wrap and let stand in a warm place until doubled in bulk, about 1 hour.
Meanwhile, prepare the sugar coating: In a bowl, stir together the brown sugar and cinnamon. Put the melted butter in another bowl. Set aside.
Turn the dough out onto a floured surface and shape into an 8-inch (20cm) square. Cut the dough into 6 equal strips, then cut each piece crosswise into 8 pieces to form a total of 48 pieces. Roll each piece into a ball, dip into the melted butter and roll in the brown sugar-cinnamon mixture, coating well. Stack the balls in the prepared pan. Cover with plastic wrap and let rise in a warm place for 30 to 45 minutes. Do not let the dough rise over the top of the pan.
Position a rack in the lower third of an oven. Place a piece of aluminum foil on the rack to catch any drips during baking. Preheat oven to 350°F (180°C).
Remove the plastic wrap from the pan, set the pan on the foil and bake, uncovered, for 20 minutes. Cover the pan loosely with aluminum foil and continue baking until the top is golden brown and the center edge of the bread, next to the tube, springs back when touched, 25 to 35 minutes more.
Meanwhile, make the glaze: In a saucepan over medium heat, combine the butter, brown sugar, maple syrup, cinnamon and water. Heat, whisking, until the ingredients are dissolved. Bring to a boil and boil for 1 minute. Remove the pan from the heat and cover to keep warm.
Transfer the bread pan to a wire rack and let cool for 5 minutes. Turn the bread out onto a plate and let cool for 10 minutes. Using a spoon, drizzle the warm glaze over the top and sides of the bread. Let the glaze set for about 10 minutes. Serve the bread warm.
Serves: 8
A SAVORY VARIATION:
For Savory monkey bread, omit the sugar coating and the glaze. After beating the milk mixture into the flour mixture, beat in 4 Tbs. minced fresh herbs, such as sage, thyme, parsley or basil. Later, dip the dough balls into 8 Tbs. (1 stick/125g) melted butter. As you place the balls in the pan, sprinkle a total of 1 ½ cups (185g) grated Parmigiano-Reggiano Cheese between the layers. Continue as directed above.
Source: Williams-Sonoma Kitchen (Recipe taken from packaging of Williams-Sonoma Monkey Bread Ceramic Baking Mold)
Thursday, July 8, 2010


Crock pot insert can be transferred from crock pot base to refrigerator for easy storage when not in use.
(Editors Extremely Important Side Note: When cheese sauce is heated to desired temperature, turn crock pot down to "Keep Warm" setting, otherwise the sauce will bubble up and begin to burn! I just made that mistake this evening..)


Tuesday, February 16, 2010


