


Monday, January 17, 2011
I thought I'd give this "Organization" thing another try. last year was a flop. I think I managed to construct two menus last year, and then low and behold I got lazy and my idea of creating structure in my life flew out the window with my sanity. That's saying I had any sanity at all, which in reality I have very little of.
So two weeks into the New Year and I finally sat down to plan January's Menu. There it is below if anyone feels the need to jump on my bandwagon and attempt to gain back any organizational skills we once possessed. (Or did we?)


Friday, January 14, 2011
There's never a dull moment in my classroom. Where else can a handful of Teachers and Paraprofessionals get paid to have fun?




Wednesday, December 8, 2010

- Stir together cinnamon and applesauce with a spoon until the dough becomes stiff, then use your hands to create a ball of dough.
- Place the ball of dough on a sheet of waxed paper, flatten slightly with your fingers.
- Place a second sheet of waxed paper over the top of the dough and roll out dough to about 1/8 inch thick.
- Use cookie cutters or your own template shapes.
- Air dry creations on a waxed paper-covered cookie sheet or a cooling rack for at least 24 hours until they are completely hard.
Monday, December 6, 2010
We're busy here on the SouthShore as we begin to wrap up the Festival of Lights and roll into the Christmas groove! *Gasp* I can't keep up with the baking, and the family is trailing fast behind me eating up all the goodies before I can pipe the icing!! I baked Gingerbread Cowpoke Boots a week ago and they didn't last. Tonight I pulled out the Hershey's Kisses. I baked Peanut Butter Blossoms and... well I tested out a new cookie dough I concocted in the kitchen. I was hoping for a different taste but hey, great recipes are created by trial and error, right? What I was trying to do was recreate a clone of a recipe that my big sis had made back when I was a kid. I think I need to go at it again but this time make more of a "shortbread" type dough. Anyways, here is the recipe... The cookie reminds me of a "snowball" cookie. It's flaky and just a little dry, *grr* .....trial and error.

- 1 1/2 cups butter, softened
- 3/4 cup confectioners sugar
- 1 Tbsp pure vanilla extract
- 1/2 tsp salt
- 3 cups all-purpose flour
- 10-ounces mini chocolate chips
- 48 Hershey's Kisses
- Powdered Sugar
- Preheat oven to 375°F.
- Remove wrappers from Hershey's Kisses.
- Cream the butter, sugar, vanilla and salt in a medium mixing bowl.
- Mix in the flour 1/2 cup at a time.
- Stir in the mini chocolate chips.
- Shape dough into 1-inch balls and place on ungreased baking sheets.
- Bake for 10 - 12 minutes.
- Remove from oven and immediately press a Hershey's Kiss into center of each cookie (the cookie will crack around the edges).
- Let cool on baking sheet for about 10 minutes; remove to wire rack to cool completely.
- Sprinkle lightly with confectioners sugar for a snowy garnish!
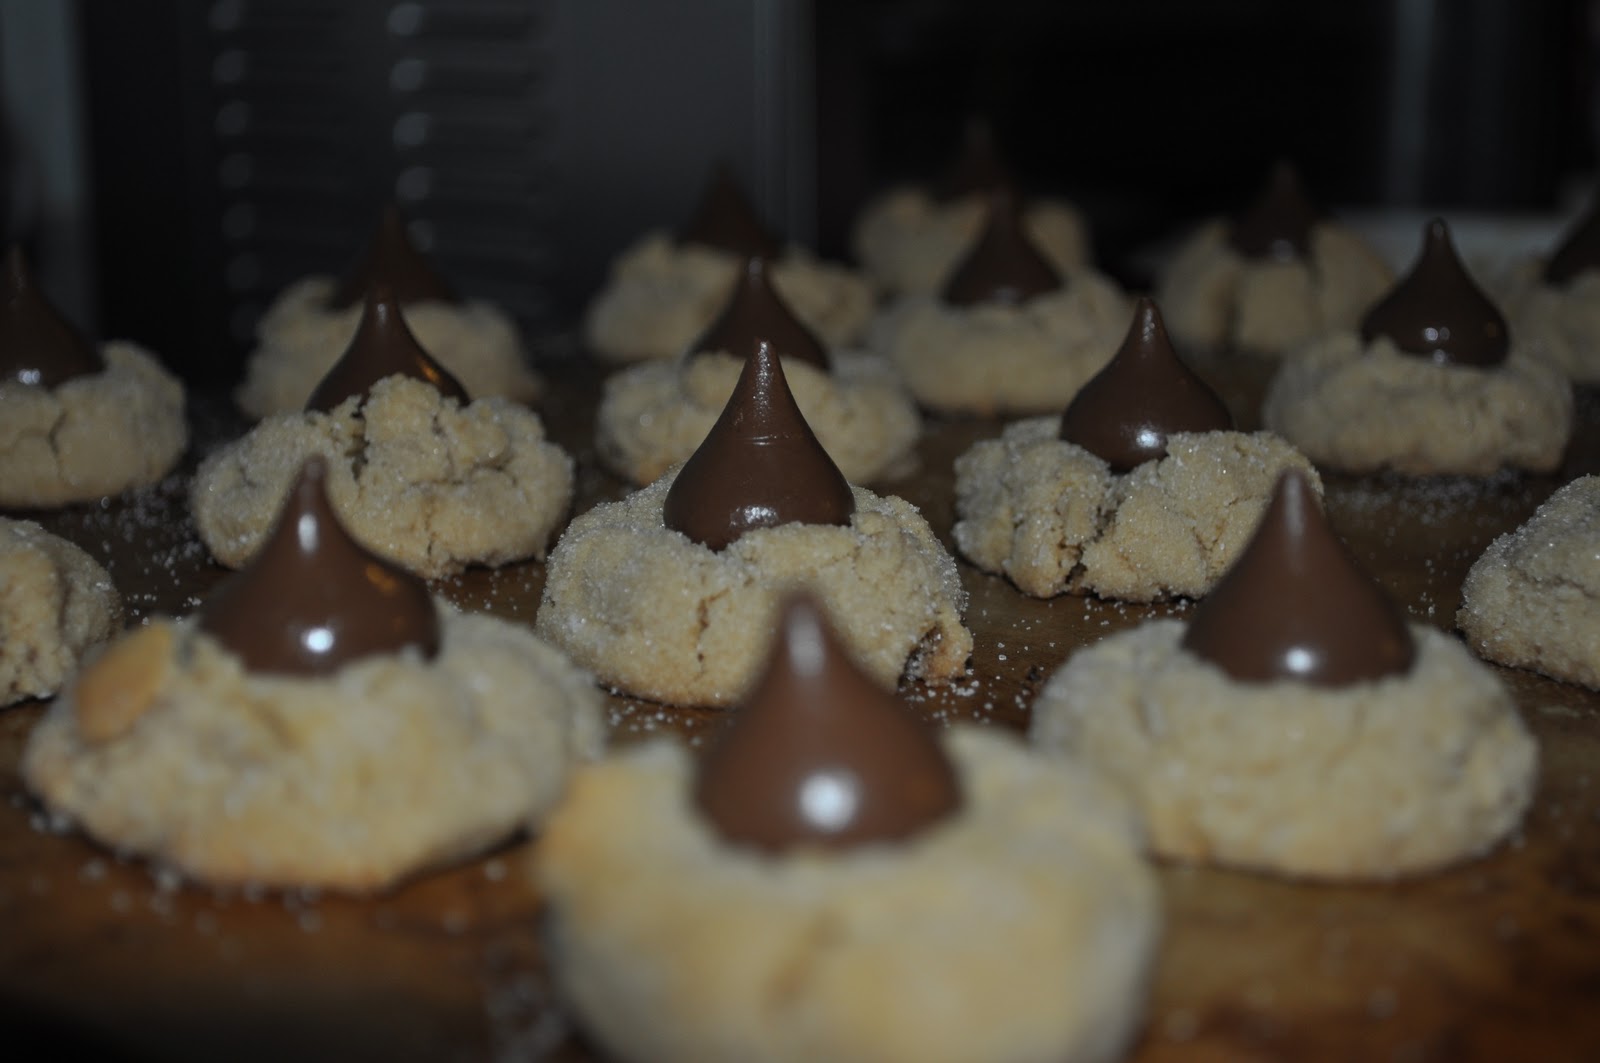
- 48 HERSHEY'S KISSES Brand Milk Chocolates
- 1/2 cup shortening
- 3/4 cup REESE'S Creamy Peanut Butter
- 1/3 cup granulated sugar
- 1/3 cup packed light brown sugar
- 1 egg
- 2 tablespoons milk
- 1 teaspoon vanilla extract
- 1-1/2 cups all-purpose flour
- 1 teaspoon baking soda
- 1/2 teaspoon salt
- Granulated sugar
- Heat oven to 375°F. Remove wrappers from chocolates.
- Beat shortening and peanut butter in large bowl until well blended. Add 1/3 cup granulated sugar and brown sugar; beat until fluffy. Add egg, milk and vanilla; beat well. Stir together flour, baking soda and salt; gradually beat into peanut butter mixture.
- Shape dough into 1-inch balls. Roll in granulated sugar; place on ungreased cookie sheet.
- Bake 8 to 10 minutes or until lightly browned. Immediately press a chocolate into center of each cookie; cookie will crack around edges. Remove from cookie sheet to wire rack. Cool completely. About 4 dozen cookies.
Happy Baking!!

Thursday, November 25, 2010

Good Morning,
Note: Garnish the top of your pie with sliced strawberries! Yum!
Graham Cracker Pie Crust
- 1 1/2 cups crushed graham crackers
- 1/4 cup sugar
- 1/3 cup butter, melted
Directions
- In a small bowl, combine the crumbs and sugar; add melted butter and blend well with your hands
- . Press onto the bottom and up the sides of an ungreased 9-inch pie plate.
- Refrigerate for 30 minutes before filling, or bake at 375 degrees F for 8-10 minutes or until crust is lightly browned.
- Cool on a wire rack before filling.
Saturday, November 13, 2010
Tuesday, November 9, 2010

- 4-6 Pork Loin Chops
- 2-3 Tbsp Margarine
- Seasoned Salt
- 1 can Chicken Broth
- Preheat family skillet over Med-High heat.
- Throw in your margarine to melt. (Don't let it burn)
- As margarine is beginning to melt put your loin chops in the skillet to brown.
- Brown all chops on both sides until golden. (It's ok to stack your chops on each other so long as both sides of all chops are given the chance to brown.
- Sprinkle each loin chop with Seasoned Salt on both sides.
- Add Chicken Broth.
- Cover skillet with lid and simmer for about 20 minutes, rotating at 10 minutes.
- Before serving, check to make sure the chops reach the temperature just above 160°F.
Side Dishes that compliment Pork loin chops: Steamed rice, Mac n' Cheese, Green Bean Casserole, Steamed Zucchini, Yellow Squash


